You can build your timetable using the Weekly Planner. To access this part of the program go to Schedule then Weekly Planner in the blue menu.


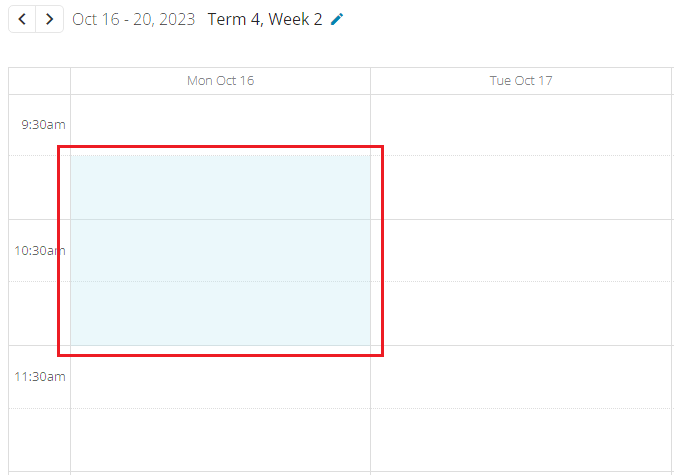
To the left, from top to bottom you will see the start and end of your day (click on the cog icon at the top right-hand corner to access settings and change when your day starts and ends).
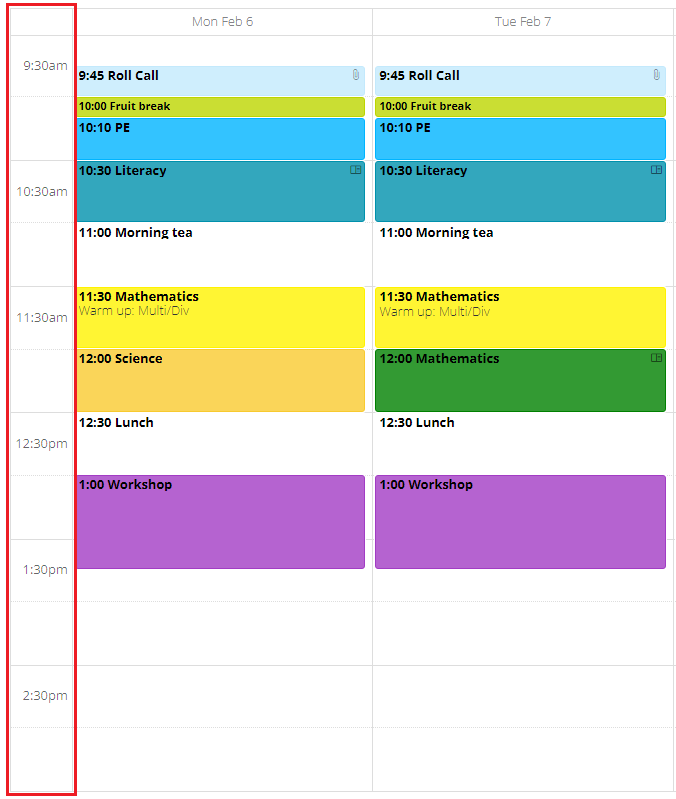
Perform the steps below multiple times to create events for each of your subjects and weekly appointments (click on the image below to open full size).

1. Choose a subject by either selecting an existing School Event Type or by typing a Personal Event Type.
2. Choose how your event will Repeat (weekly, fortnightly, monthly).
3. Adjust the days.
4. Select your Start time and End time.
5. Select your From date and Until date (you can use the quick links like 'last day of term' to make the event re-occur over to the end of the current term).
6. Add Collaborators if you wish to share an event for planning or for a school wide occurrence.
7. Attach your unit plan, this will open up a list of unit plans available for that term (this creates a link between the unit plan and your timetable enabling you to see your lessons in the daily planner). You can also add links to resources.
8. Type in a Notes Template which will show on every event within the series (you can type in notes after saving the event which will be unique for each day).
9. Click Save.